Back
Tutorials
Jul 22, 2024
How to Create and Set Up Your Twilio Account: A Step-by-Step Guide for Seamless Communication Integration

Anand Sukumaran
Introduction
a world where communication is key to success, Twilio stands out as a game-changer. With its robust suite of communication APIs, Twilio empowers businesses to create personalized and reliable communication experiences for their customers. Whether you're looking to send SMS messages, make voice calls, or implement two-factor authentication, Twilio has got you covered.
In this blog post, we'll take you through the step-by-step process of creating your Twilio account. Whether you're a seasoned developer or just starting out, this guide will help you navigate the setup process and unlock the full potential of Twilio's communication capabilities.
Why Use Twilio?
Twilio is a cloud communications platform that provides a comprehensive suite of APIs designed to simplify the integration of communication features into your applications. By leveraging Twilio, you can effortlessly send and receive SMS, make and receive voice calls, and implement essential functionalities like two-factor authentication. Its robust API offerings allow you to create customized and scalable communication solutions that enhance user engagement and streamline interactions. Whether you're aiming to build a seamless customer support system or integrate advanced communication features into your app, Twilio offers the tools and flexibility to meet your needs efficiently.
How to setup a Twilio account?
Step 1: Creating a Twilio Account
Go to this link https://www.twilio.com/en-us and click on “Start for Free” button on the top right side of the screen
On the Signup page you will asked to provide the following details
First Name
Last Name
Email
Password
After submitting your details you will be redirected to a page where you will have to submit a verification code that you received on your email ( check your spam folder too)
Next you will have to provide you mobile number and verify it using otp ( keep in mind that this mobile number will be user for 2FA during every login)

After verifying your mobile number, you will get a recovery code. This recovery code can be used to login to your account if the verification device is lost, so save the details somewhere safe
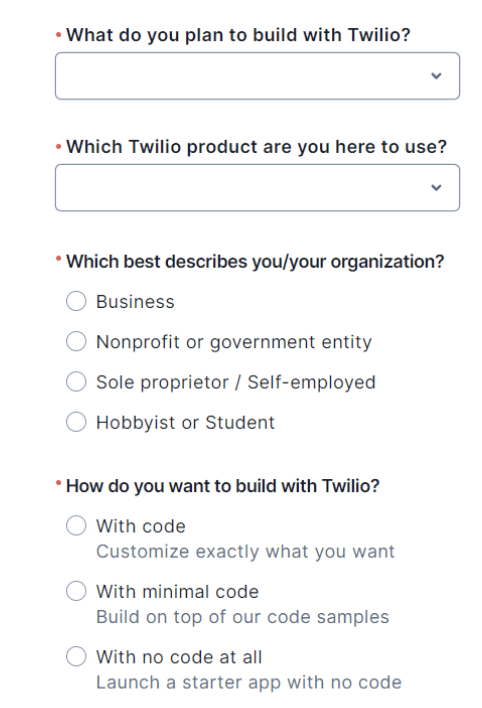
Next page you will be asked the following details submit the details as you feel
Step 2: Getting a trial phone number:
You will have to get a trial phone number , click the get trail phone number button on your homepage
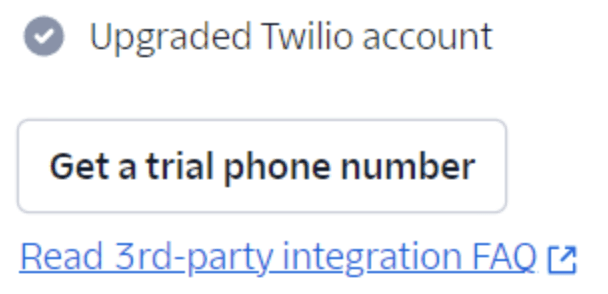
Upon clicking the “get trian phone number” button , you will be assigned a temporary number
Step 3: Upgrade Twilio Account
For testing stage you only need temporary number and twilio will give you a 15 $ credit in your account for free, but before going to production you will have to upgrade your account
If you account is not upgraded it will be shown in your account like this
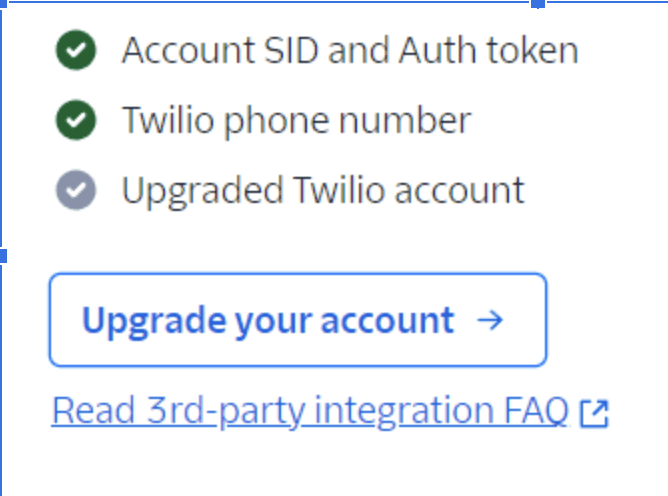
Upon clicking the Upgrade account button you will be redirected to a page, where you will be asked to add your address.
In the next page you will have to provide your tax information
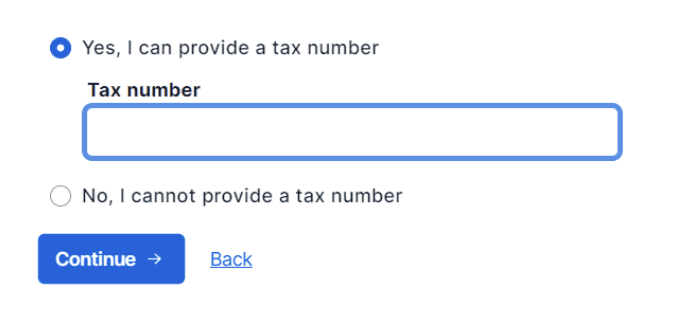
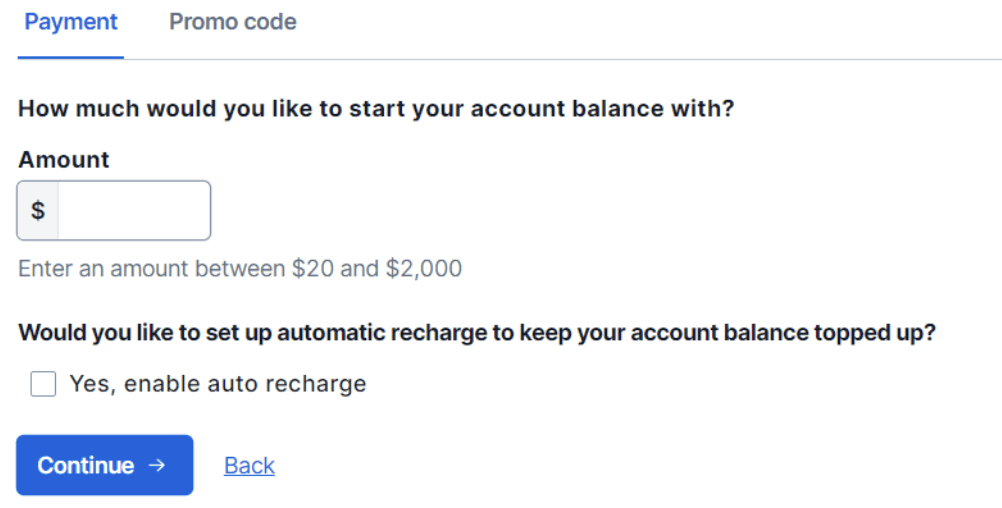
After submitting your tax information you will have to buy credits , this can be little as 20$
Step 4: Getting a permanent phone number
Getting a permanent phone number is important in your journey ( only verified accounts can buy a permanent phone number)
On the Develop tab on the left side side on the screen
Phone number→Manage→ Buy a Number
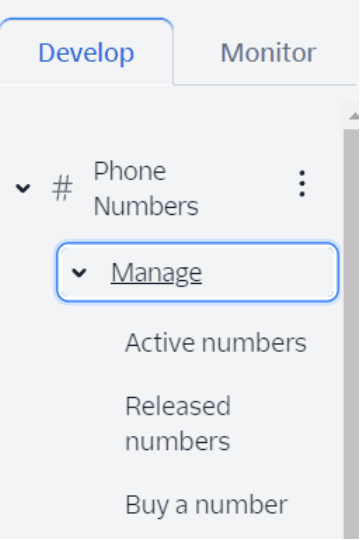
You will be able to see a list of phone numbers with a monthly fee of 1.15$
Purchase the desired phone number and you are good to go
Step 5 : Integrating Twilio to Engagespot
Conclusion
Congratulations! You've successfully navigated the process of setting up your Twilio account, from creating your account and obtaining a trial phone number to upgrading to a permanent number. By completing these steps, you've unlocked a world of robust communication tools that can significantly enhance how you interact with your users.