Back
Tutorials
Jan 3, 2025
How to Build a Notification Inbox in Flutter Using Engagespot

Anand Sukumaran
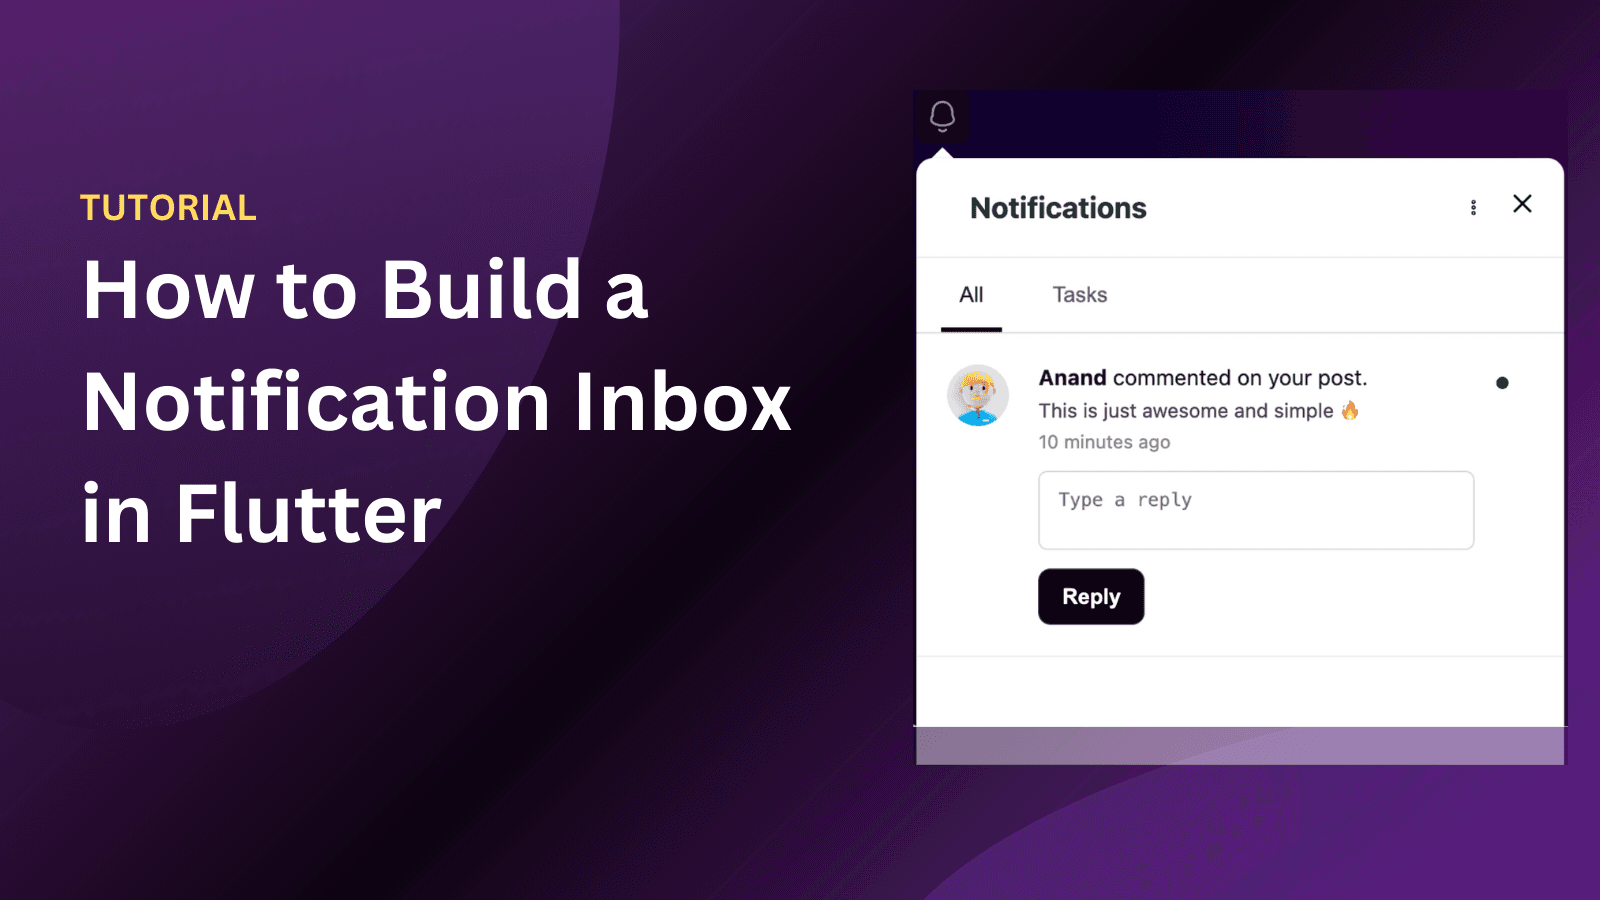
Modern applications often have a dedicated place to show important updates or alerts to their users—commonly referred to as a notification inbox. Whether you’re scrolling through Instagram to see who liked your photo or checking Facebook for comments on your post, a notification inbox helps users stay informed about important events. In this tutorial, we’ll learn how to build a notification inbox in Flutter using Engagespot.
We will cover the following steps:
What is a notification inbox and why Flutter apps need it?
Pre-requisites
Installing the Flutter library and initializing it
Identifying the logged-in user
Fetching the notification list and displaying them
Listening for new notifications in real-time
Adding inbox actions: delete, mark all as read, etc.
Conclusion
1. What is a Notification Inbox and Why Flutter Apps Need It?
A notification inbox is a centralized location within an app where users can view all their alerts, messages, or updates. Popular platforms like Instagram and Facebook have dedicated tabs or sections that list all notifications, making it easier for users to stay on top of interactions (likes, comments, follows, etc.).
In Flutter applications, having a notification inbox is beneficial because:
It allows users to revisit notifications they might have missed from push or in-app alerts.
It provides an organized and user-friendly way to keep track of important updates, messages, or system alerts.
It helps in re-engaging users, improving retention, and ensuring they do not miss critical information.
Engagespot offers an easy way to implement a notification inbox with real-time updates and user management, so you can focus on building great app experiences rather than building a notification backend from scratch.
2. Pre-requisites
Before diving in, make sure you have the following ready:
Engagespot API key: Sign up on the Engagespot dashboard to get your API key.
Firebase Cloud Messaging (FCM) account: For push notifications on mobile, you’ll need an FCM setup. You’ll receive an FCM token from your Firebase project.
3. Installing the Flutter Library and Initializing It
Engagespot provides an official SDK for Flutter to manage notifications, user identification, and real-time updates. Here’s how to install and initialize it.
Step 3.1: Add the Dependency
Open your pubspec.yaml and add the following dependency:
Then run:
Step 3.2: Initialize the SDK
You should initialize the Engagespot SDK before using any of its functionalities. This is typically done in your main.dart or any initialization service in your application:
Note: Set
isDebug: falsein production to disable debug logs.
4. Identifying the Logged-in User
Engagespot needs to know which user it should send and fetch notifications for. After a user logs into your app (or if you have an existing authentication flow), call the loginUser method to set the current user context:
You can use any identifier for unique_user_id, as long as it uniquely represents the logged-in user (e.g., email, username, UUID).
5. Fetching the Notification List and Displaying Them
Step 5.1: Retrieve Notifications
To fetch notifications for the logged-in user, use the getNotifications method. This returns a NotificationSet which contains:
unReadCount: The count of unread notifications.NotificationMessage: A list ofEsMessageobjects representing each notification.
Example:
Step 5.2: Build a Custom UI for the Inbox
Flutter makes it straightforward to display a list of items. You can use a ListView.builder or ListView.separated widget. For instance:
Tip: You can show the
unreadCountin your app bar badge or a dedicated spot in the UI to indicate how many notifications remain unread.
6. Listening for New Notifications in Real-time
One of Engagespot’s key features is the ability to listen for new notifications as they happen, so you can dynamically update your UI without the user having to refresh the screen.
Use the listenMessage method and provide a callback:
By using this method, your app can handle events such as:
New notification arrives: Update the list of notifications in real-time.
All notifications are marked as read: Refresh the unread count to 0.
7. Adding Inbox Actions: Delete, Mark All as Read, etc.
Apart from just displaying notifications, Engagespot provides ways to manage them:
7.1 Mark All Notifications as Read
You can call this when the user taps a “Mark All as Read” button in your inbox. Once successful, you might want to update your UI to reflect that there are no unread notifications.
7.2 Delete a Single Notification
If you’re showing a “Delete” button next to each notification, call this when the user confirms the deletion. Then remove that notification from your local list to keep your UI in sync.
7.3 Clear All Notifications
Use this to allow users to clear their entire inbox. This might be a button somewhere in your notification settings or dropdown. When done, remove all notifications from your local list in the UI.
8. Conclusion
By following the steps above, you have set up a fully functional notification inbox in your Flutter application using Engagespot. Here’s a quick recap:
Why a notification inbox matters: It centralizes important messages and enhances user engagement (like Instagram, Facebook, etc.).
Pre-requisites: Get your Engagespot API key and FCM ready.
Install and Initialize the Engagespot Flutter SDK.
Identify Users with a
userIdto fetch relevant notifications.Fetch Notifications and display them in a custom UI (show unread count, etc.).
Listen in Real-time for new notifications.
Add Inbox Actions like delete notifications, mark all as read, and so on.
You’re now equipped to create a robust in-app notification center that helps your users stay on top of everything that’s happening in your app. Feel free to extend the UI, add advanced filtering, or show in-app pop-ups for new alerts. The power of Flutter combined with the simplicity of Engagespot makes building a notification inbox both intuitive and effective.
Happy coding!


