Back
Tutorials
Aug 16, 2024
How to integrate Slack notification API in a NodeJS app

Anand Sukumaran
In this tutorial we'll learn how to integrate Slack notifications in your Javascript app. Slack is one of the common notification channels supported by team collaboration apps like Jira, Asana etc, or devops/monitoring tools like Netlify, Pingdom etc. If you are developing a similar product and looking to integrate the Slack notification feature, this article is for you!
In this example, we'll be looking at Slack channel notifications, NOT direct notifications sent to the user. In most of the cases, our users want our app to send a notification message to their preferred slack channel.
Prerequisites
Engagespot API Key- Get one for free if you don't have one.
Let's create a Slack app first
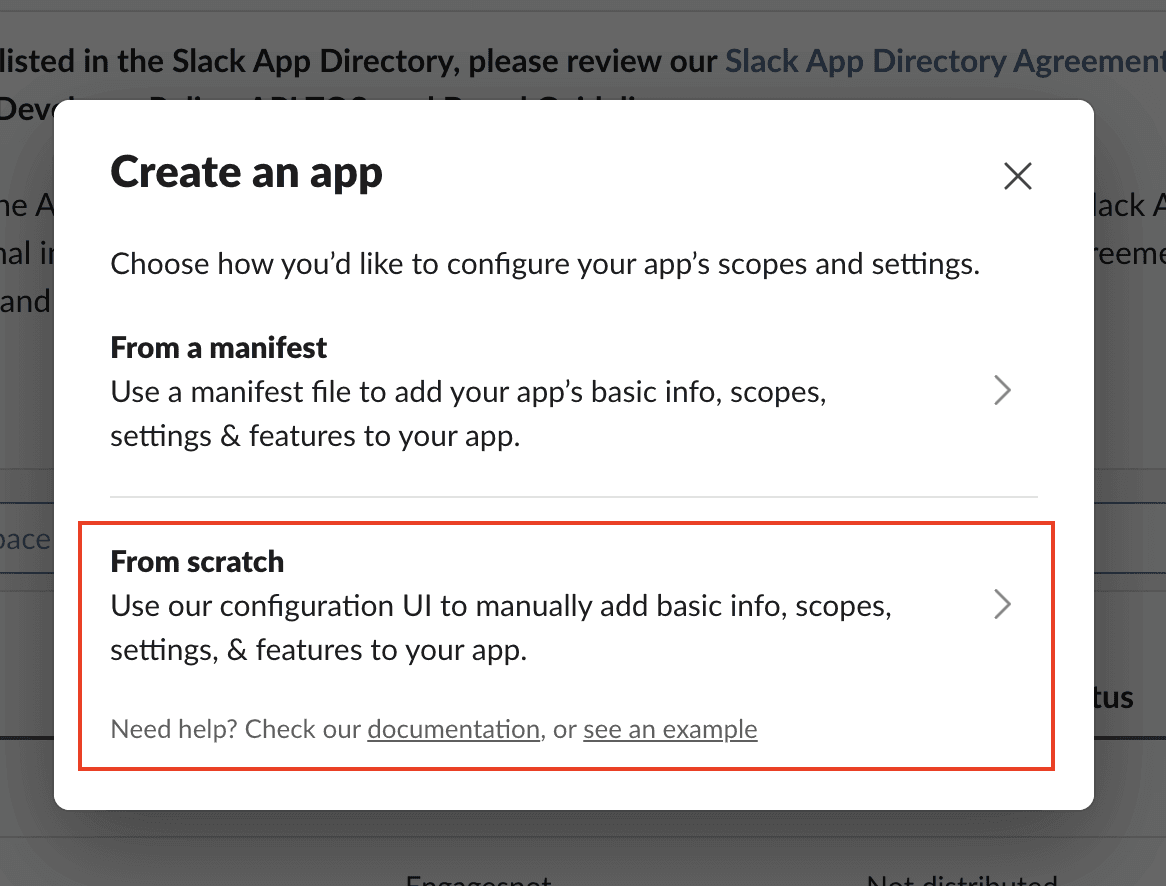
Goto Slack API portal (https://api.slack.com/apps), and click on "Create New App" button. Choose "From Scratch" option.
Give your app a name and a workspace where you'll test it. And then click the "Create App" button.
Add necessary permissions to the Slack app
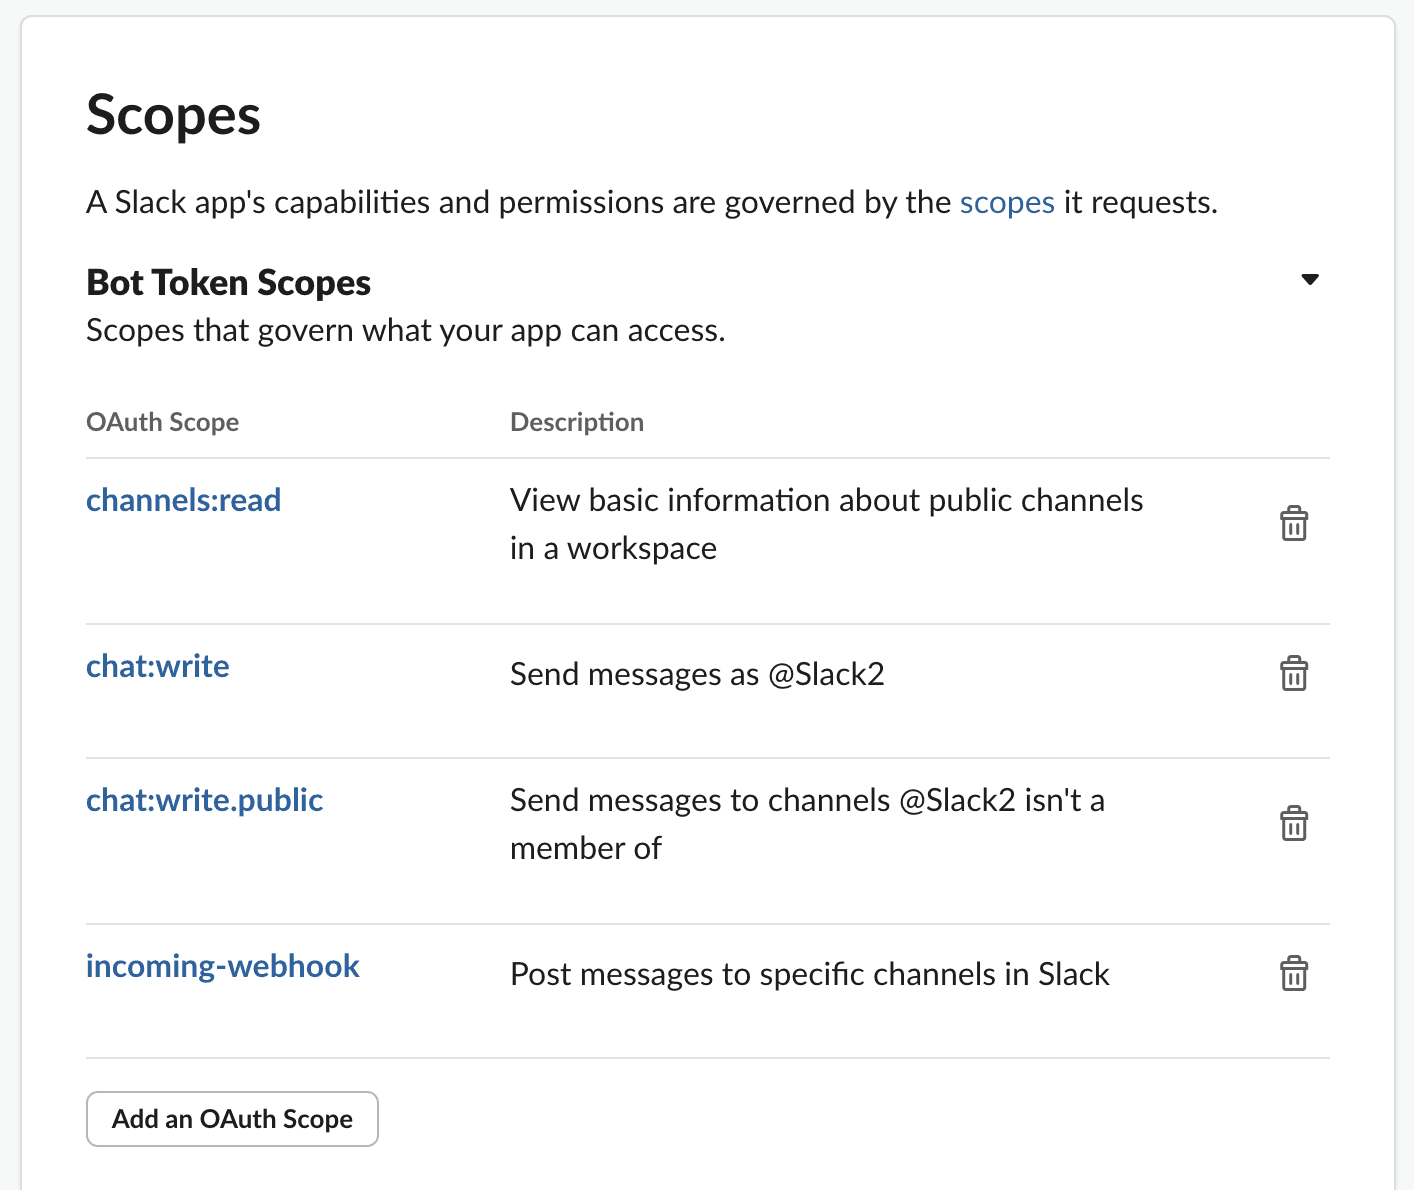
From the Slack app side menu, navigate to OAuth and Permissions item.
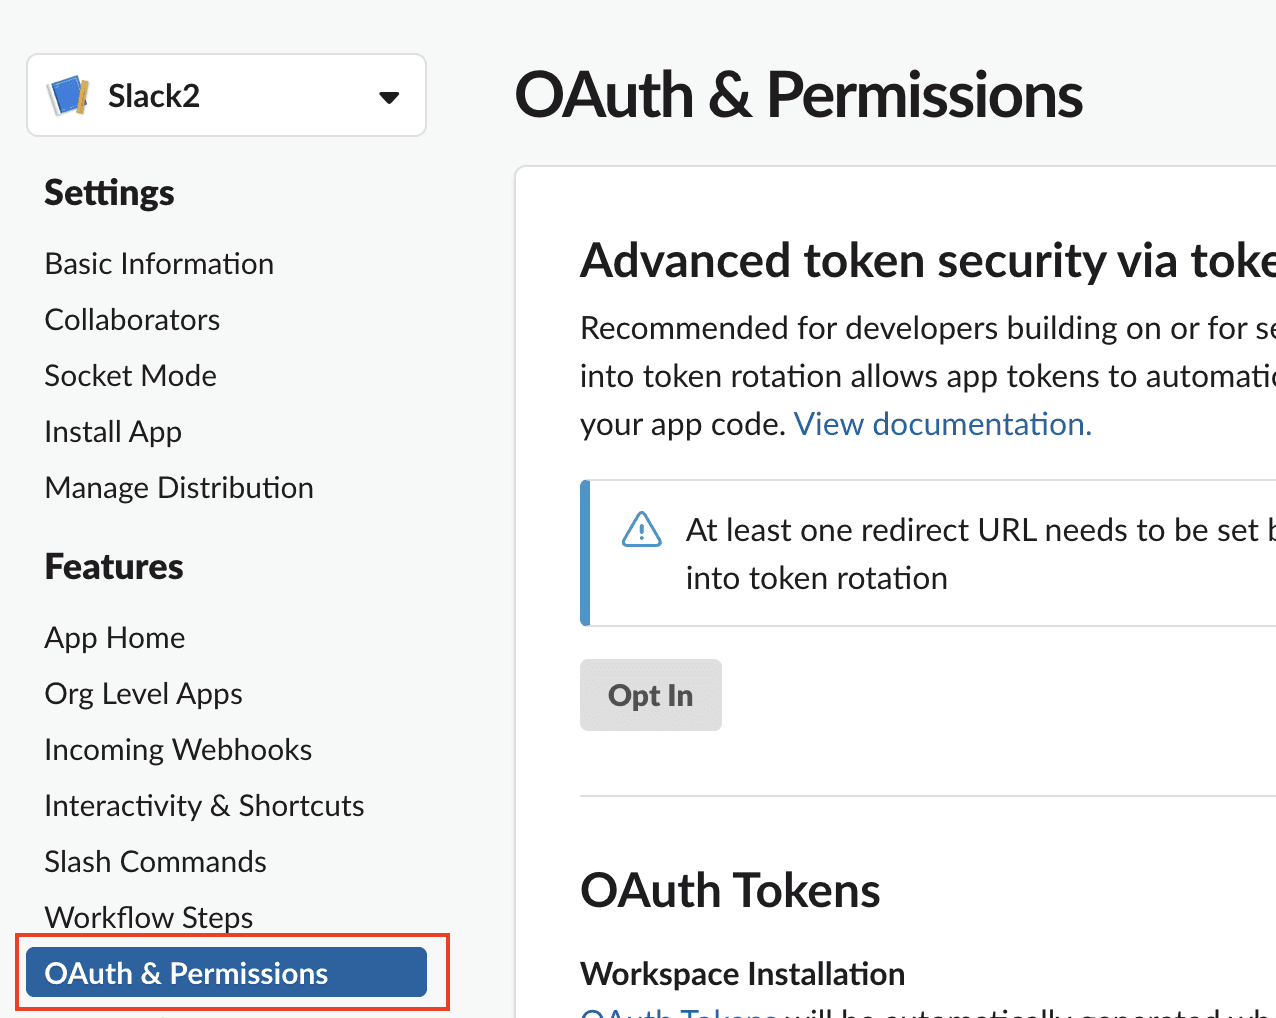
Scroll down to the "Scopes" -> Bot Token Scopes section, and add channels:read, chat:write, and chat:write:public, incoming-webhook scopes to the app.
Add the Enable Slack Notification button to your application
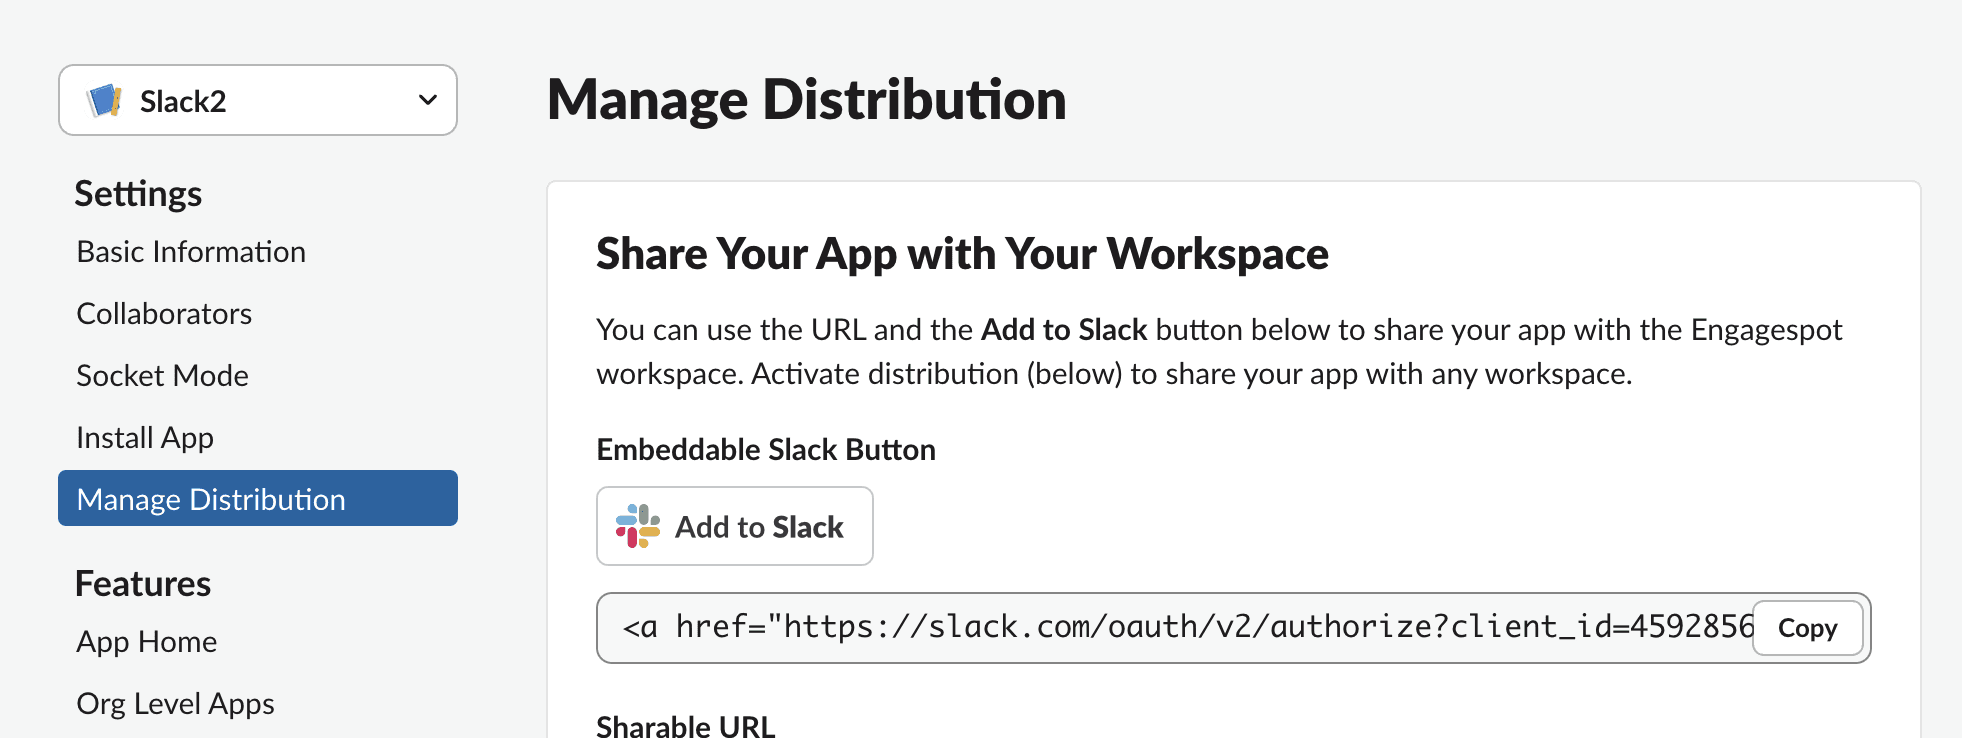
In our front-end app, we'll include a "Enable Slack Notifications". This is where our users will click to link their Slack workspace, and choose their preferred Slack channel to receive notifications from our app.
To get this button, navigate to the "Manage Distribution" item and copy the HTML code to your front-end app where you want the "Add to Slack" button to appear.
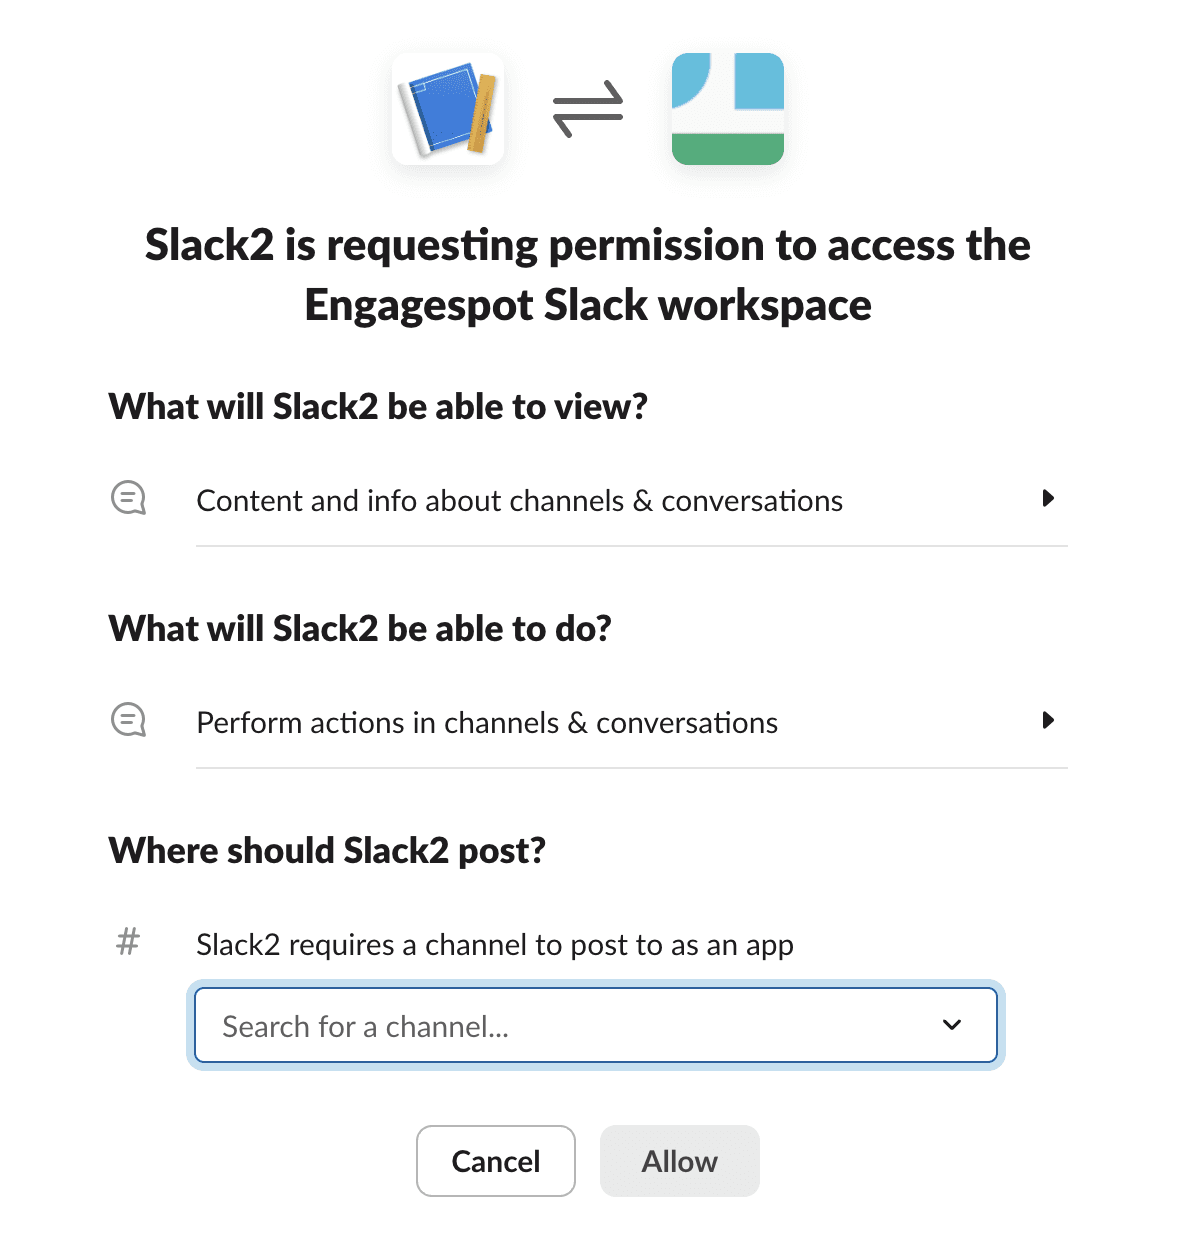
When your users click on this button, they will see an OAuth screen like this, where they will choose their Slack channel to link with your app.
Add a redirect URL
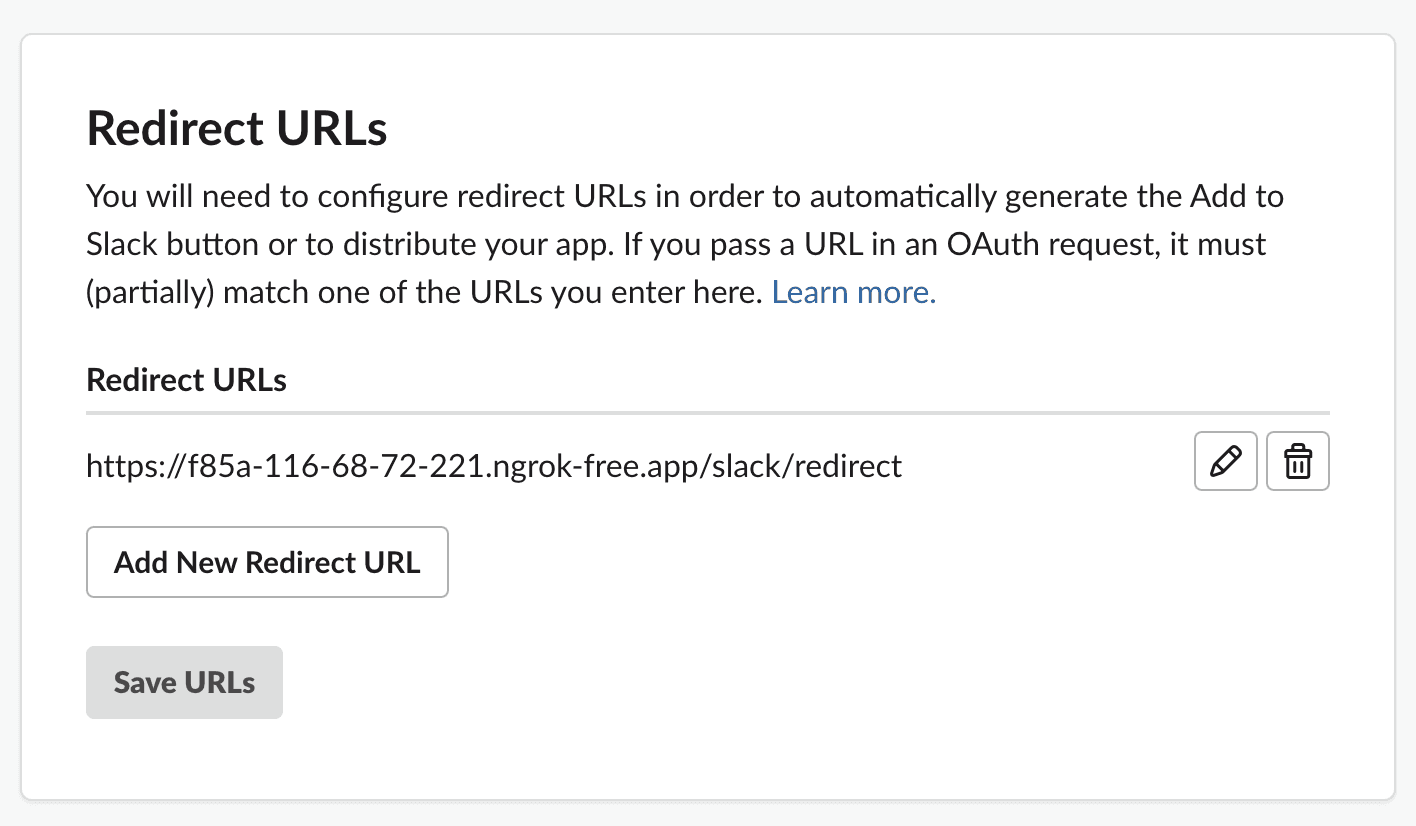
After the user clicks the "Add to Slack" button after select their Slack channel, they will be redirected to a URL in your app. This URL can be specified in the OAuth & Permissions side menu -> Redirect URLs section as shown below.
Handling the OAuth redirect and fetching the webhook URL.
Once the user authenticates the Slack app and selects a channel, they will be redirected back to your app (as per the redirect URL you specified in the Slack app configuration). The redirect request will have a URL parameter code. You should send an API request to https://slack.com/api/oauth.v2.access with this code to get the incomingWebhookUrl.
This is a sample Nodejs express code that will extract the code from the redirected response, and perform the API request to get the webhookURL. You can get your Slack apps CLIENT_ID, CLIENT_SECRET from Basic Information menu.
Now you've got the incoming webhook url for your user. The next step is to attach this url to this user's Engagespot profile.
Attaching the webhookURL to Engagespot
As you might already know, for every user in your app, there needs to be a profile created in Engagespot. Read the User documentation for more information.
Since we're using NodeJS as the backend in this example, we'll use the node engagespot library to create a user in Engagespot and attach the webhook to their profile.
Once you do this, the Engagespot workflows sent to this user will result in sending a Slack message to the channel chosen by the user!
Let's create a workflow with Slack message in Engagespot!
As the final step, we want to see a message getting delivered to a some specified slack channel.
To test this feature, first, authenticate the Slack app by clicking the "Add to Slack" button from your app, and then authenticate yourself as a user by choosing a channel on any of your Slack workspace.
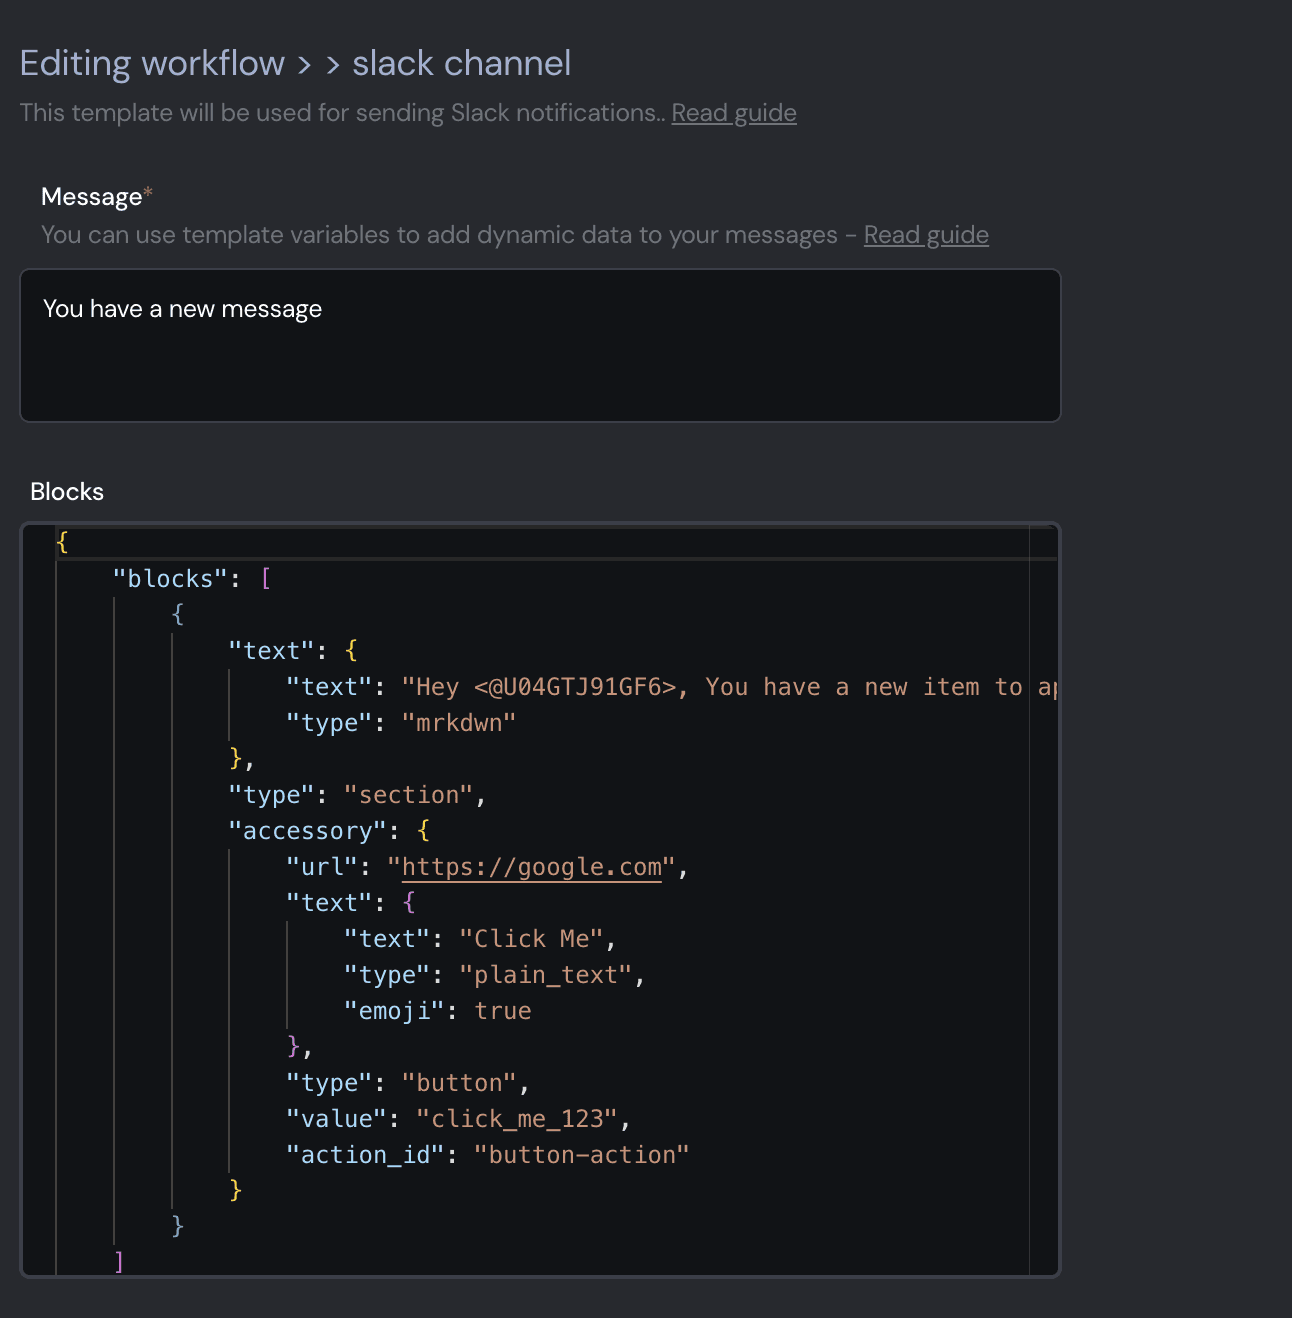
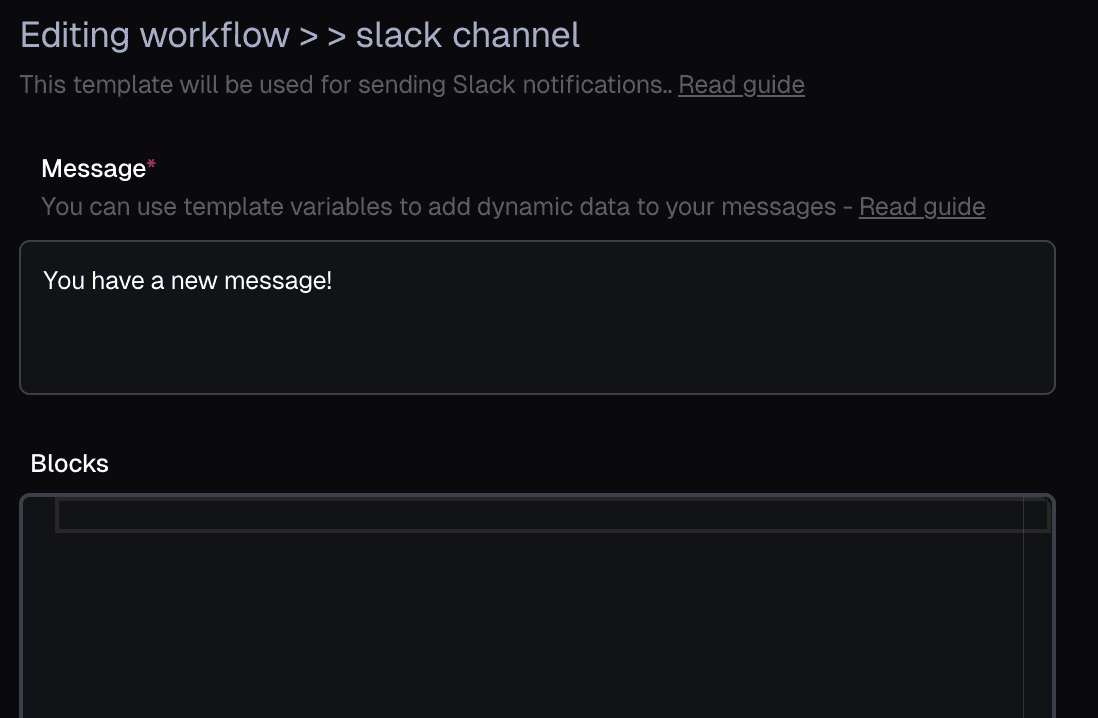
Then, navigate to workflows, create a new workflow and add the Slack channel step. Then click the "Edit template" button, and build the slack message.

Now, let's trigger the workflow
In Engagespot console, Goto Notifications -> Send and trigger this workflow to the user you just created! In real world, you will be triggering this workflow programatically from your backend. But this time, we'll just test manually from Engagespot Console.
Trigger the workflow and Tadaa!

You can see the message instantly getting delievered in the Slack channel you
Interactive Slack Messages
You can not only build simple text messages, but interactive slack messages with buttons, images and other components using the Slack's BlockKit syntax. Build your messages here - https://app.slack.com/block-kit-builder/ and then copy the contents of blocks array to the "Blocks" field in Engagespot slack template editor!