Back
Tutorials
Nov 2, 2023
How To Build A Realtime Notification Feed In Your React App With Node Backend

Anand Sukumaran
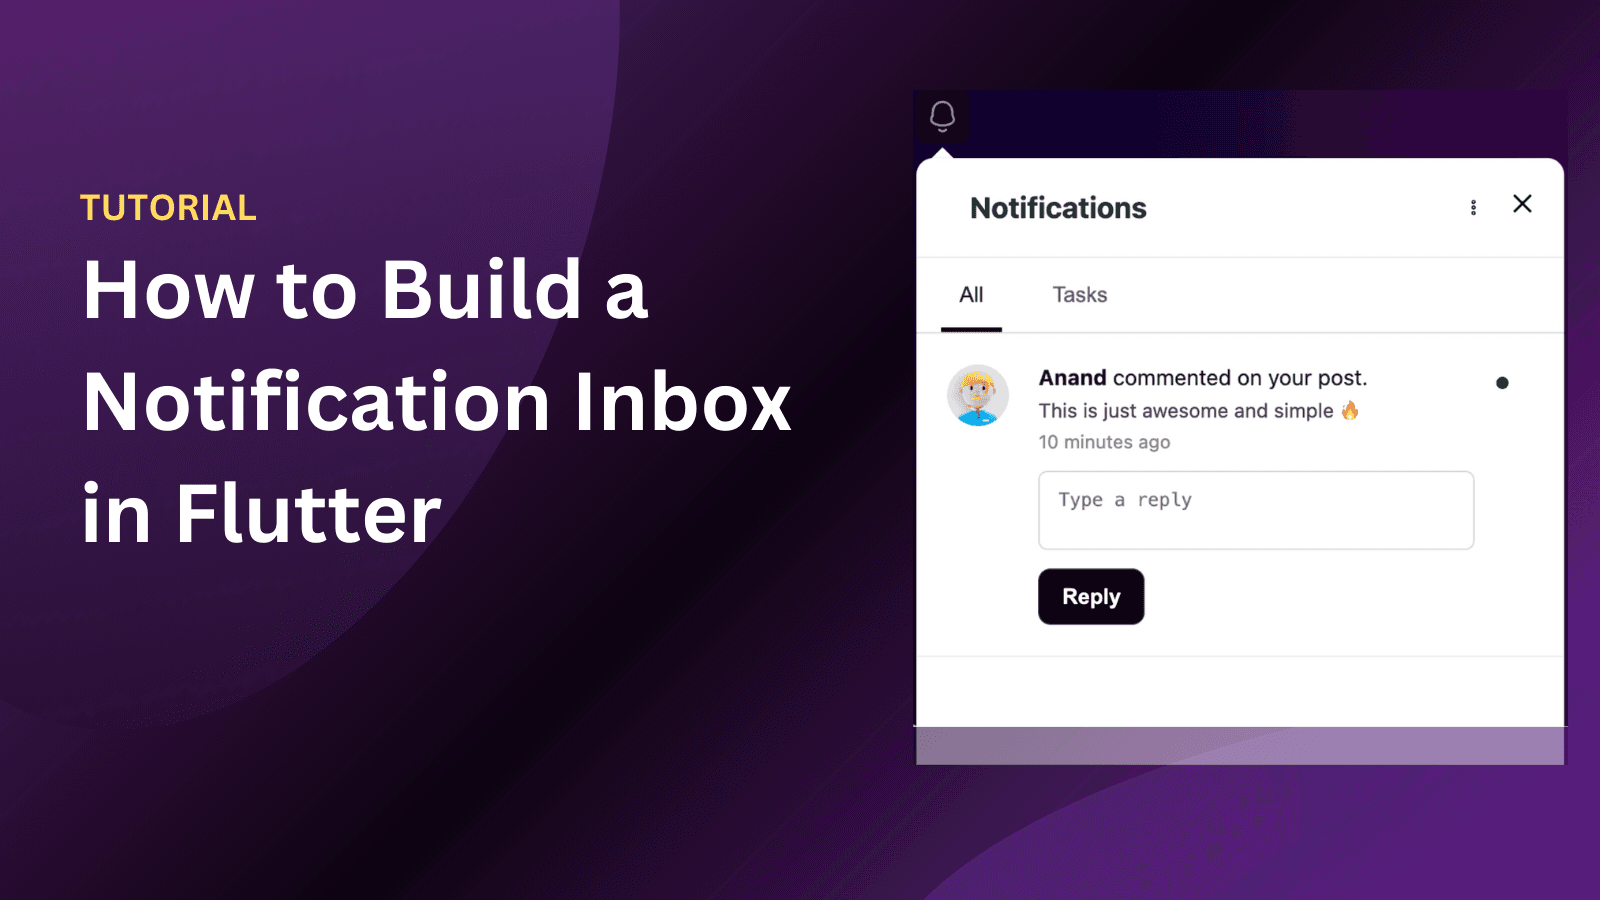
In this tutorial, I’ll show you how to add a realtime notification feed in your react web app. It is useful for apps where users collaborate. For example — Social networks, forums, project management tools or any app where user’s interact through activities like comments, share, messages etc. Throughout this example, I’ll consider the usecase of a dating app where people can send match requests, messages, like / comment on photos etc. And we should make the notification feed look cool by customizing the look and feel to match our app’s theme. And we’ll be using Engagespot to make this happen.Something like this!
Objective
We have three objectives -
To add a notification feed (like the one above) in our React app that updates in Realtime, shows unread notification count etc.
To send notifications to specific users programatically from our dating apps backend code. (For eg: when someone comments on a user’s photo)
To add support for browser notifications, so our users can be notified even while they’re away.
Prerequisites
Engagespot account (It’s free to signup)
Step 1. Add Engagespot React Component to your existing app
Install Engagespot React Component package which contains the pre-built UI Kit and all necessary bells and whistles needed to build a notification system.
Step 2. Import Engagespot React Component and Render
We’ll add the bell icon (and the notification feed) to the top right side of our app’s navigation bar. Just like how Medium placed their bell icon.
I have a Bell component in my React app which I’ve positioned properly in the app where I want the Engagespot notification feed to appear.
In the userId parameter, we should pass the email id (or any other unique identifier) of the user who is currently logged in to our app. Done! If you open your app now, You can see a bell icon, and clicking on it will open a full fledged notification center.
Step 3. Customizing the Notification UI Kit
Now we should customize the look and feel of the notification center to match our dating app’s theme. For that we should use the theme property of Engagespot component. Let’s change few colors.
🎉 Awesome!
Step 4. Sending notifications programatically from our node backend.
So, In my dating app, I want to notify my users whenever someone sends them a match request. Let’s open the code where we handle match requests.
Here, we can add a simple api request to notify the user when they get a new match request.
That’s done. Now whenever we try to send a match request to a user, they will get notified in their notification bell icon (or as a browser push). No matter how many devices they use, Engagespot will do all the task to make sure your user gets notified!
Conclusion
Now you’ve implemented a complete notification center in few minutes to your dating app built in React and Node. Many more features are available in the Engagespot SDK. Make sure to checkout the documentation to build even more more advanced features! Thanks for reading, and happy building better notifications, faster!


