Back
Tutorials
Mar 23, 2024
How to build actionable notifications in React

Vinu Devaraj
Before going into the technical aspect of things, let's discuss what are actionable notifications and what is the use case of having actionable notifications.
What are actionable notifications?
Simple. Actionable notifications allow users to take specific actions directly from the notification itself.
Unlike regular notifications that are static and only display a message, actionable notifications gives users the ability to interact and perform actions right within the notification.
I recommend reading the actionable notifications guide to understand more about the concepts of Engagespot actionable notifications before building it.
Real world use case
To walk you through this tutorial, let us consider a real world e-commerce application.
One of the pain points of this application was that the admin had no way of knowing when the customer places a new order. So usually the admin used to do the following steps:
1. Had to periodically go to the orders page and check if there was any new order request. Or check the emails to find if there is a new order notification.
2. If there was an order request, then the admin had to navigate to the order details page and make sure everything was satisfactory.
3. Then change the order status from order order_recieved to order_confirmed
This results in decreased productivity and increased time for serving orders.
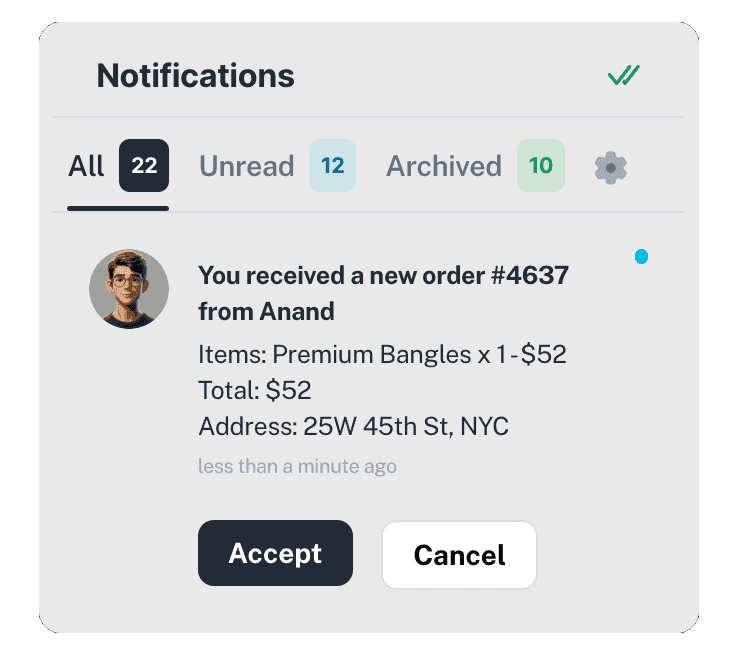
Instead, if the admin could see an In-app notification with the order details and an action button to confirm the order from the notification itself, how easier that will be.
In this tutorial, we'll learn how to build an actionable notification workflow to streamline the operations of the e-commerce admin to accept and process orders from the In-App notification center itself!
Step 1. Install Engagespot library to your React app
Install @engagespot/react-component package in the React application.
Now, add the <Engagespot/> component to the app which will render the bell icon and the in-app notification inbox widget.
The component supports different modes of authentication depending on the use-case. Read the Engagespot React guide to know more about the component and it's configurations.
Step 2. Create an actionable template
To build actionable in-app notifications, you should create a template in Engagespot.
You can choose from wide variety of actionable templates such as "Single button notification", "Two button notification", "Notification with input field and button" etc.
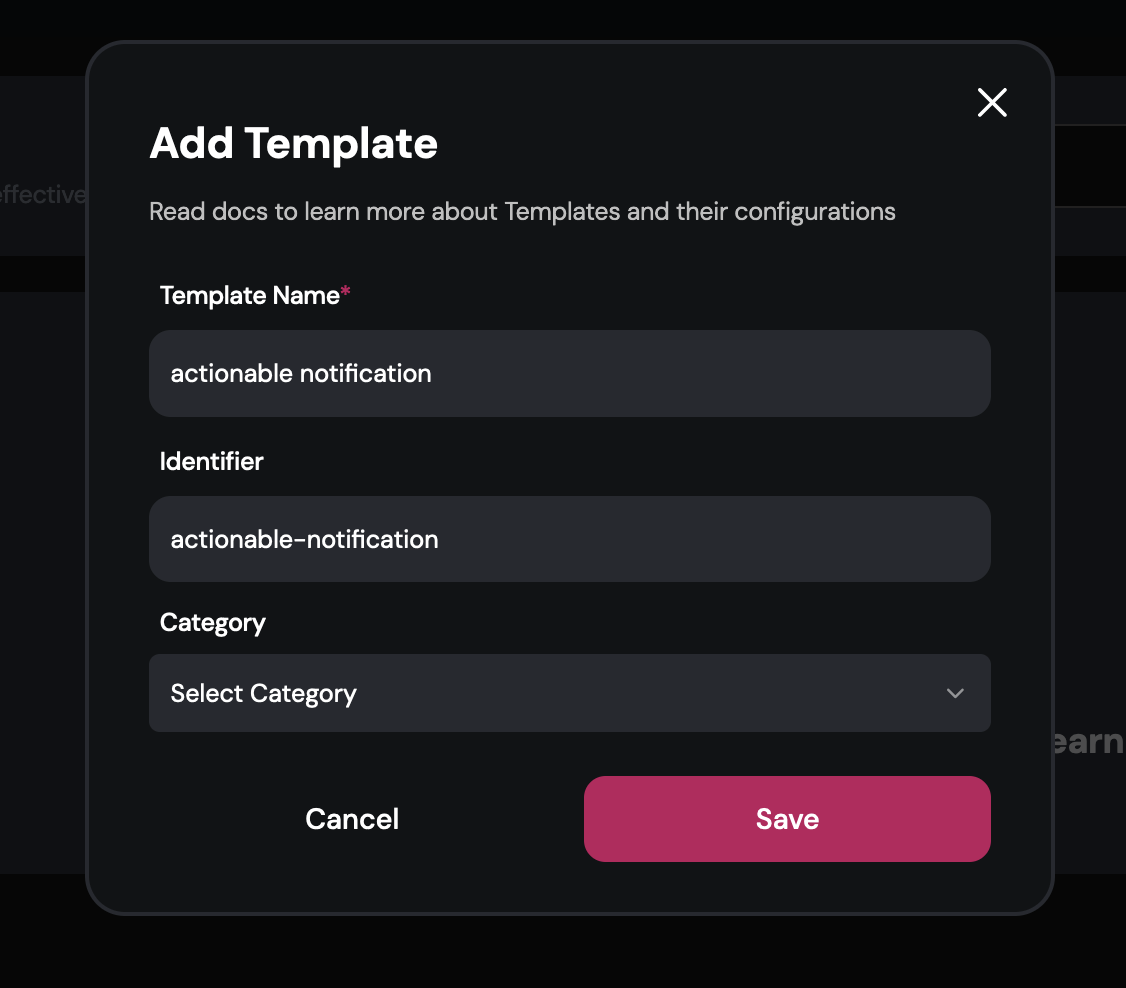
To create a notification template, open Engagespot Console, navigate to Templates menu from the sidebar. Then click on the New Template button. Enter a name to identify the template, and click "Save".
Step 3 - Add the In-app channel to the template
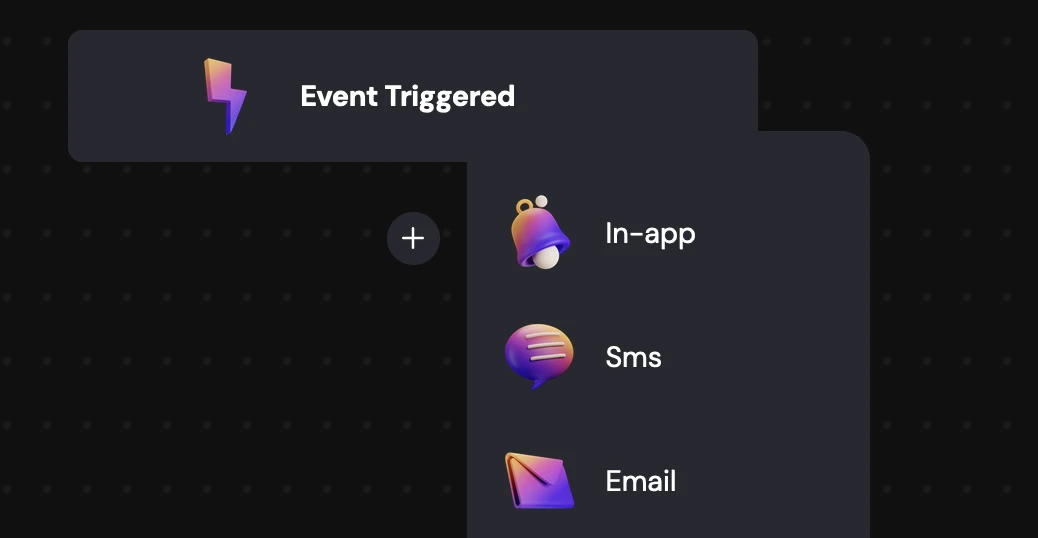
Click on the template you just created and you will redirected to the template channel workflow page. Click on the + button below the Event Triggered Card.
You will see the list of available channels. Click on `In-app`.
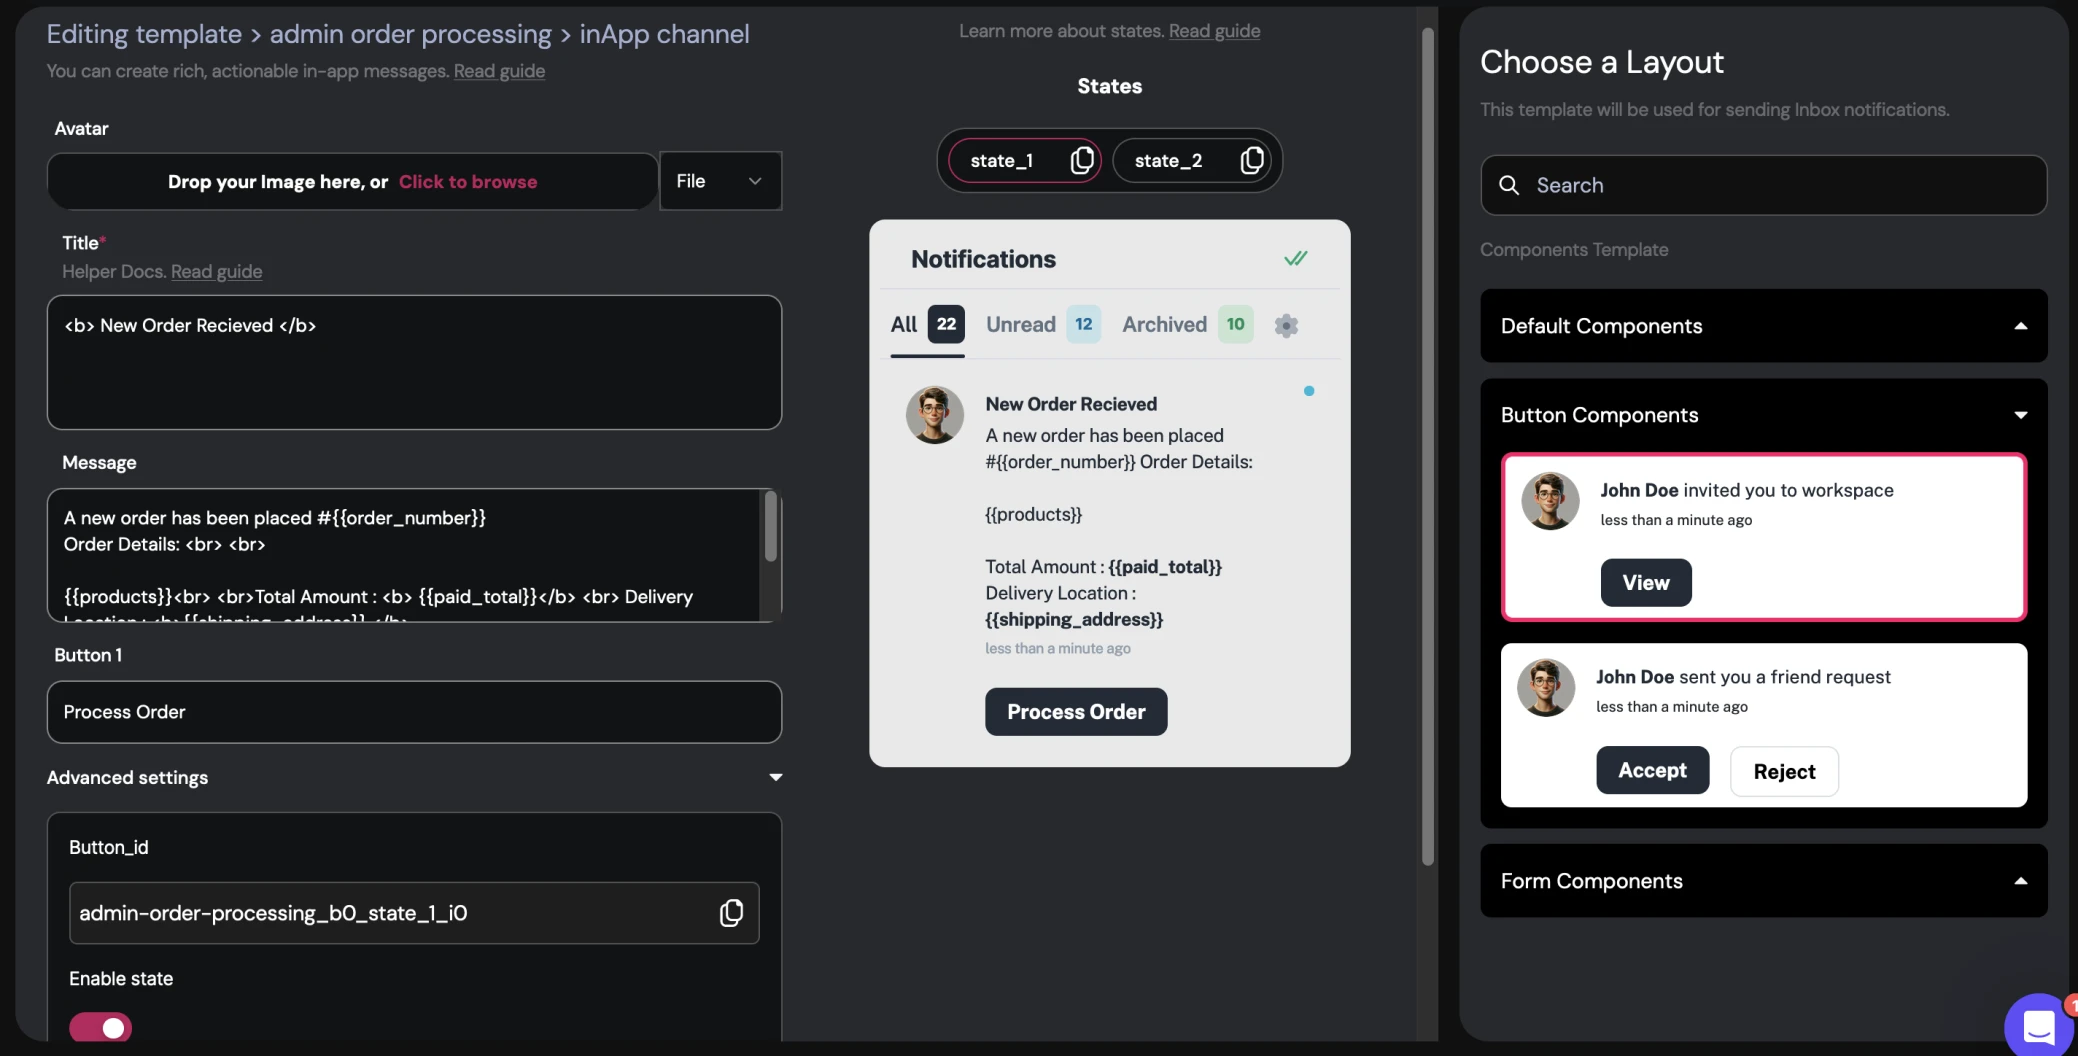
You will be redirected to the In-app template editor page.
Step 4 - Choosing the actionable notification layout
In the right sidebar you can choose any layout that you want, since we want an actionable notification with a button, scroll down and select the single button layout.
Tip - Dynamic values rendering 💡
Engagespot allows you to insert dynamic placeholders like {{key_of_value}} in your notification. When the notification is sent, it checks the corresponding data key and replaces it with the actual value.
Tip - HTML rendering 💡
Engagespot support HTML rendering, so any valid html will be rendered accordingly.
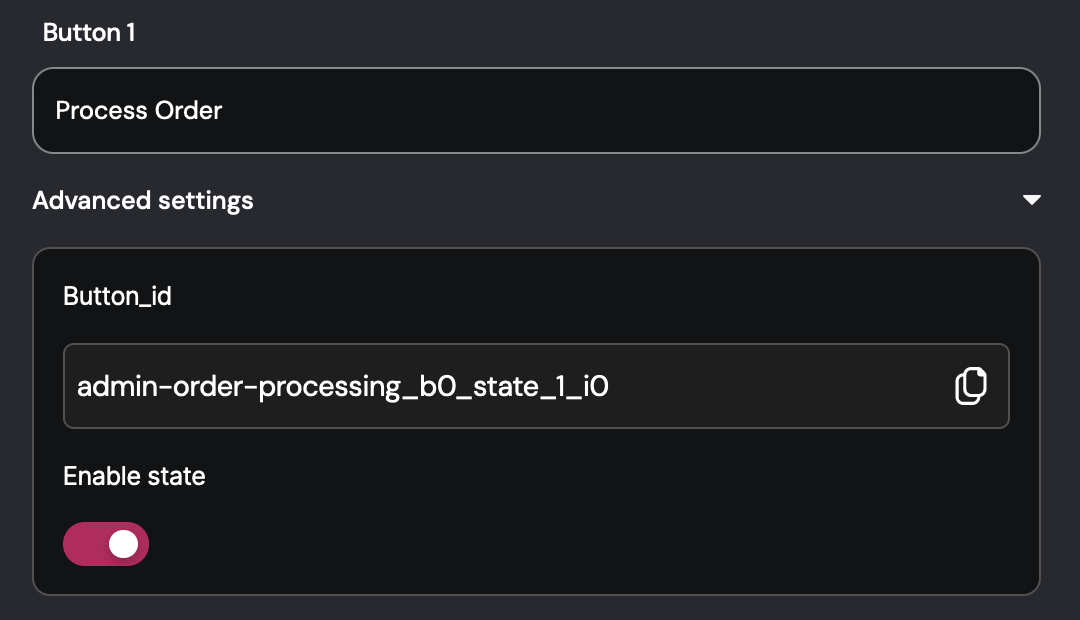
Step 5 - Enabling the "order processed" state
After the user clicks the Process Order button and the order is processed, we do not want the notification to stay in the same state. It's better to update the content of the notification to - "Order Processed" or something like that.
Click on the Enable state button from the Advanced Settings of Button 1. Now you should see the disabled state_2 being activated. Click on it and then enter the values that you want state_2 to have.
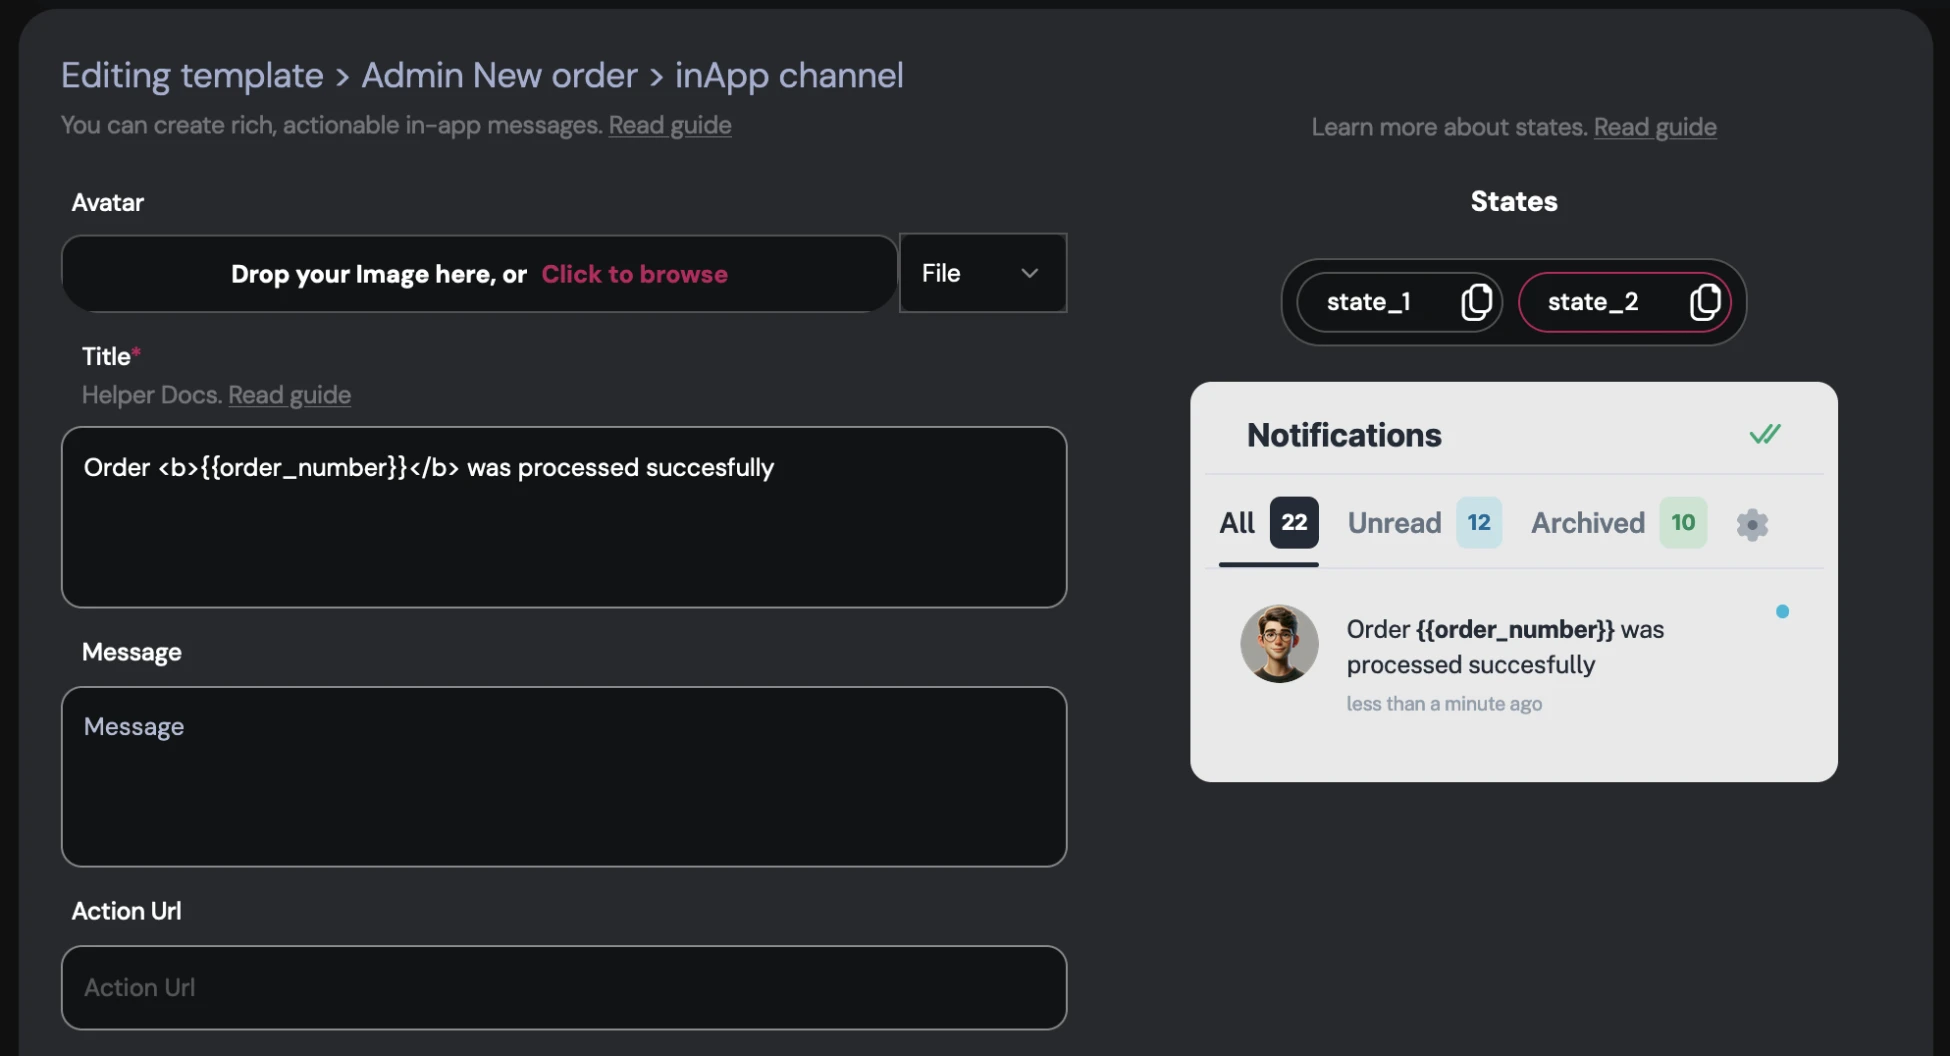
Click Save. You have successfully created a actionable notification with two states.
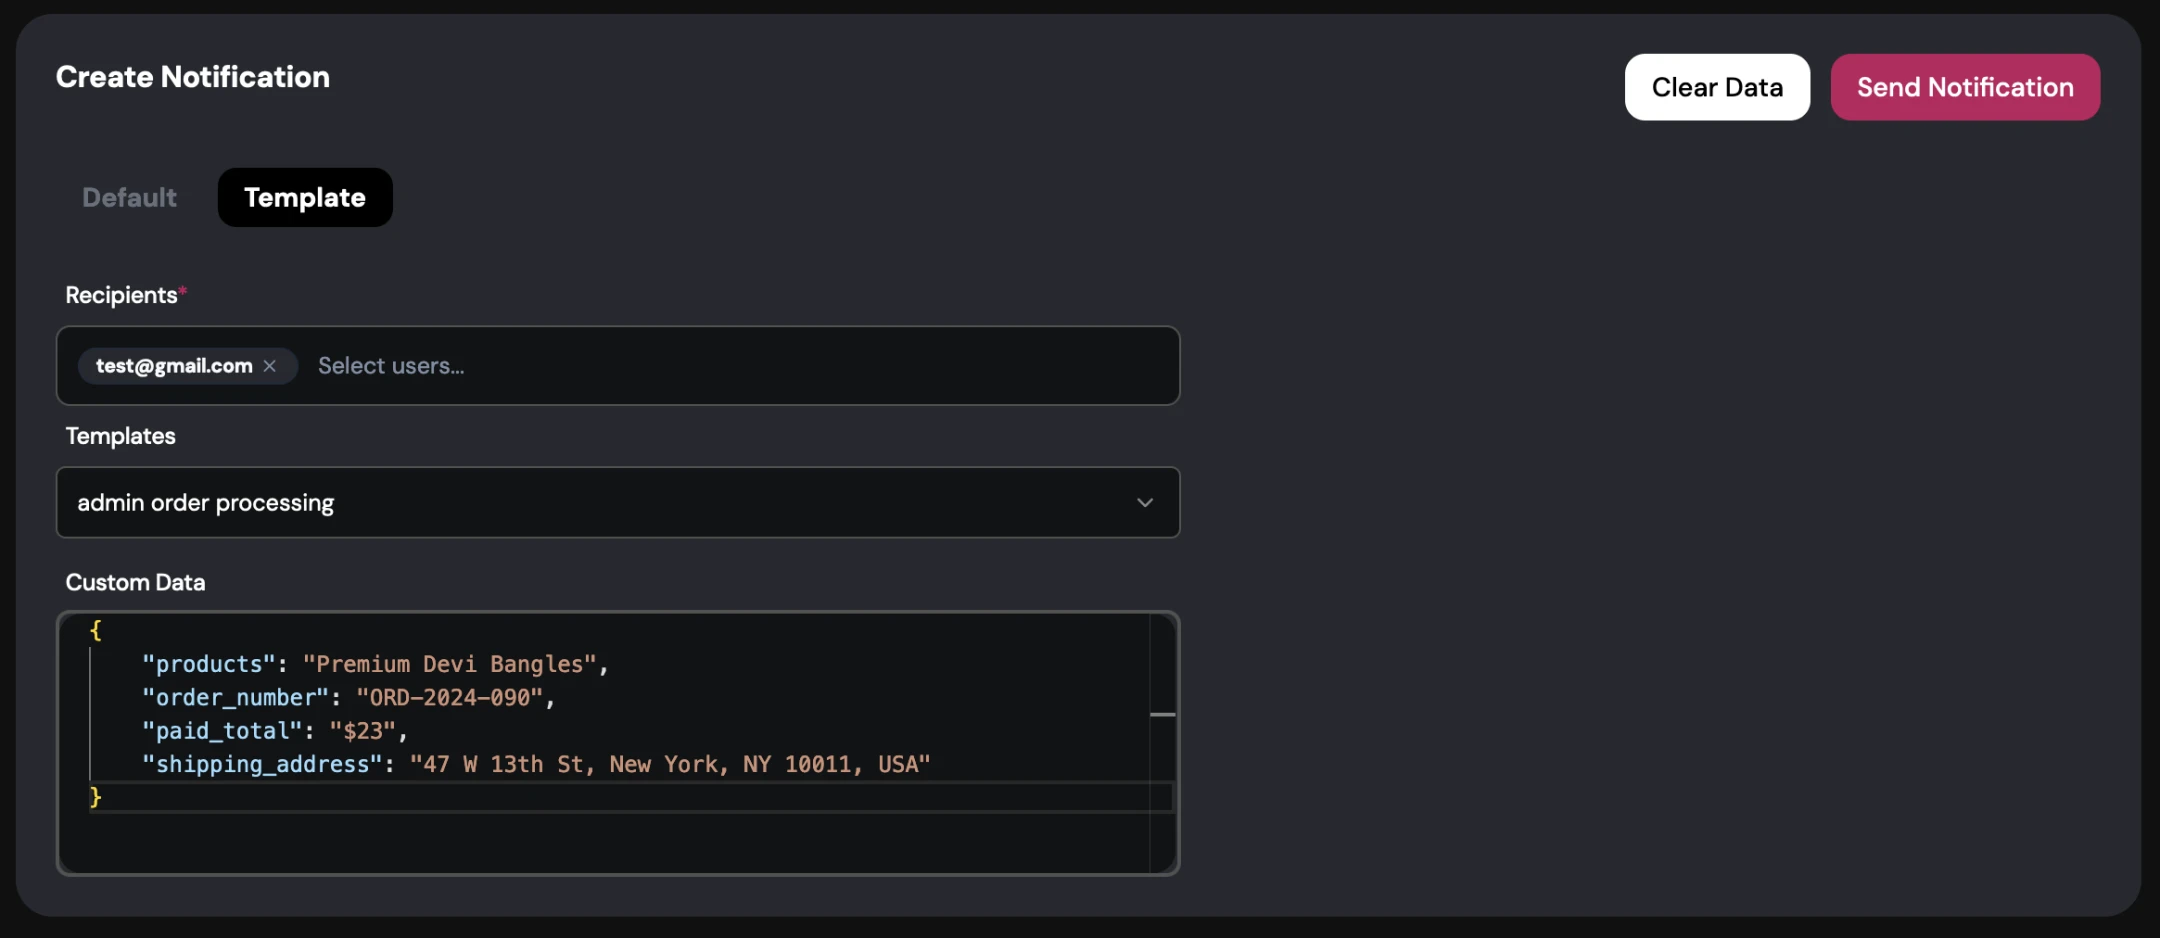
Step 6 - Test the actionable notification
Head over to compose page in your Engagespot console. Switch from `Default` to `Template`. Select the recipient you want to send this notification to.
From the Templates select the template notification you created earlier. Click Send Notification.
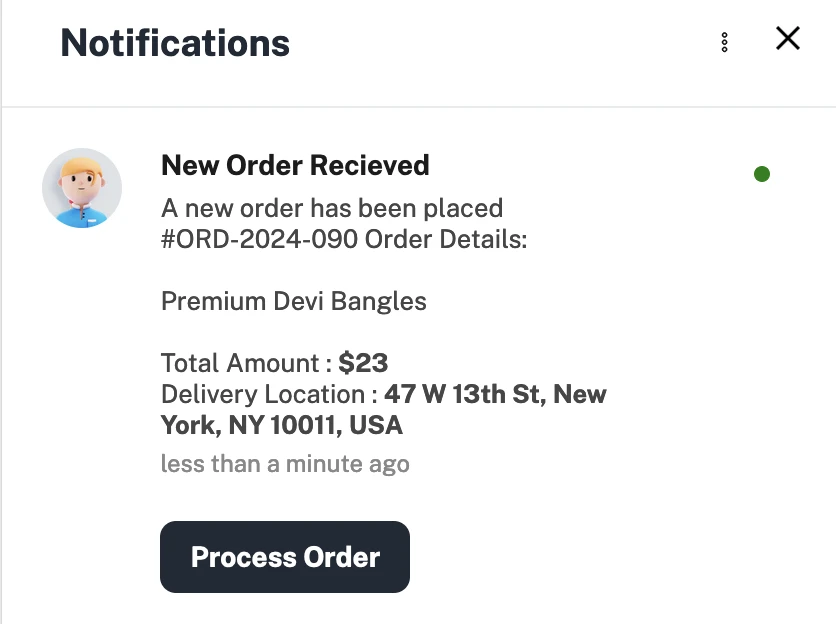
In your app, you should see a notification like this. Hurray! It was that simple 🎉
But when we press the Process Order button, nothing happens. This is because we have not attached any event listeners in our React.js app to listen to the button click event. Let's do this in the next step.
Step 7 - Attaching event listeners
We should use the eventListenersToRun property of the <Engagespot> component. eventListenersToRun takes an array of objects. Each object should have the following keys-
blockId, event, onEvent
blockId is the id of the button on which you want to attach the listener. In our case, it is the "Process Order" button. You can find the blockId of tis button from the the template editor.
event specifies when this action should occur. In our case, it should happen when the user clicks on something. So it will be `onClick`. ️
onEvent specifies the function that gets triggered when the action happens (in our case, the button click).You can write any JavaScript code inside this function, and it will execute accordingly.
Changing the Notification State
You can use changeNotificationState to change the state of our notification.
So, make sure you have configured the eventListenersToRun property of your <Engagespot/> component like this.
That's all it takes!
Test the notification again using compose and you should see actionable notifications working perfectly.