Back
Tutorials
Mar 15, 2023
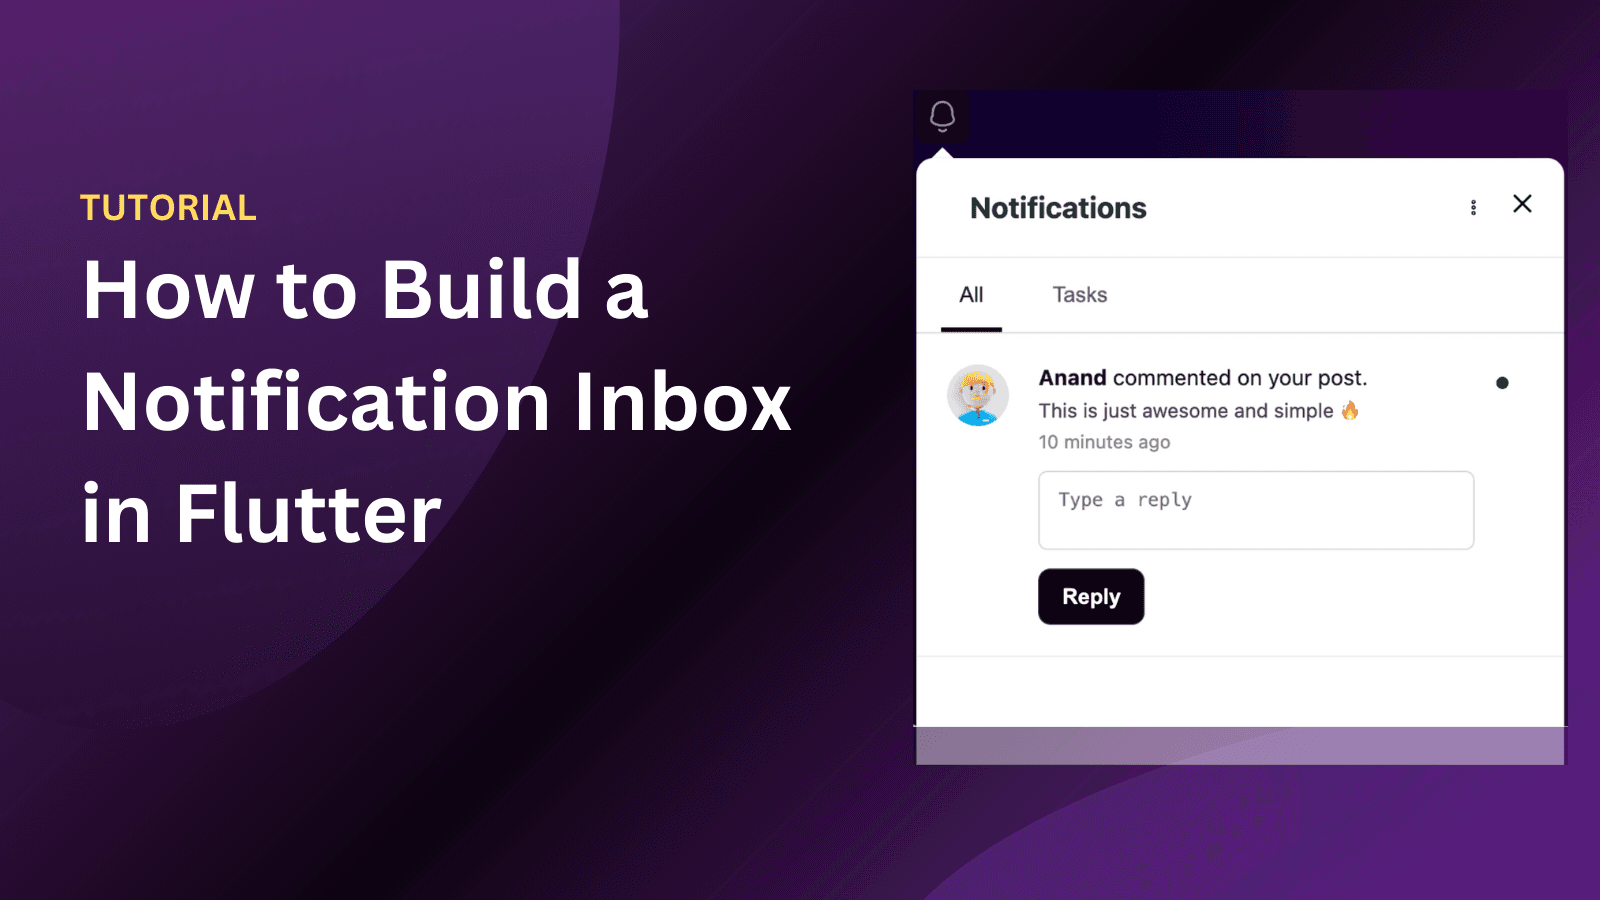
How To Send Web Push Notifications To Specific Users

Anand Sukumaran
Hi Guys, I'm Anand, the main developer & founder of Engagespot. One of the reasons why I built Engagespot is to help other developers implement web push notifications in web apps easier and without much complexities involved in backend development. In this article, I'll show how to send web push notifications to specific users. That is, how you can setup a user-specific web push notification for your web application using Engagespot. This is a detailed explanation of the Quora answer written here.
What do you need?
Engagespot API Key (Sign Up for a Free Push Notification API Key) I'll assume you have an Engagespot account and an API Key for your account
Add Engagespot Javascript SDK Code to Your Web App
You need to add this code to all pages (or the one common head include file), where you want the web push notification prompt and the notification bell icon to appear. Make sure to copy this script below the closing </body> tag.
Now that you have added the initialization script. All users who visits these pages will see the bell icon, and also the web push notification prompt if you have enabled off-site notifications during Engagespot setup.
How to specify a unique id for the users on your web app?
To send web push notifications to specific users, we need to map this anonymous subscriber to a real user account in your system. So that you can use your user's id or email or some unique values to identify this user.
For that, Just below the Engagespot.init() function, above the </script> add the following line.
(You need to add the below code only where the user lands after logging in). Because, that's where you will have his unique id, right? Engagespot.identifyUser('XYZ'); Whereas XYZ is the unique id of your user in your system. I recommend using the numeric UID of your user. (String IDs are also fine). If you've done this, then you have successfully completed mapped your actual user with the web push subscription of this user's browser. Like this, if he logs in from different browsers, we will map all those browsers to your user's id. (We do the mapping internally so that you don't have to worry about that). So, whenever you send a push notification to user XYZ, he will get it in all his browsers from where he has logged in.
How to detach a user from the browser when he logs out?
We need to detach the identified user from the browser when he logs out of your web application. Otherwise, he will continue to receive all notifications in that browser. (What I mean, is the native, offline browser push notifications). That's simple. Just add the following Javascript code on the logout confirmation page. So when he lands on that page, we will simply un-map him from this browser. Engagespot.clearUser();
How to send web push notifications to specific users using Engagespot REST API
Well, You have completed the complex user-browser mapping with just two lines of code. Engagespot takes care of all the complexities associated with this mapping process. Now let's proceed to use Engagespot REST APIs to send a push notification to a specific user from your application backend programmatically.
You can read our API Guide at https://documentation.engagespot.co/docs/rest-api documen. Also we have push notification SDKs available for PHP and Node.js. Read more about them here Here, we need to use the campaign API. You have to send a POST Request with JSON BODY to the campaigns API URL that is https://api.engagespot.co/v3/notifications You need to pass the notification title, message, icon, link URL as mentioned in the API Guide. Along with that, you need to pass the send_to parameter with value as identifiers and pass another JSON array named identifiers with the ID of the users whom you want to deliver this notification to. In this case, XYZ Here is one sample PHP Curl Script to send a web push notification to one specific user using Engagespot API.
Make sure to change the API_KEY with your Engagespot App's API_KEY which you can find on your dashboard -> App Settings page. The same API call can be called using any programming languages such as Python, NodeJS, Java, etc.
It's done! But How it works?
When you call the API, the notification will be delivered only to the user with id XYZ. If he is currently online on your web app, he will receive it inside your bell icon with a notification sound (if you've enabled sound during the push notification setup).
On the other hand, if your user's browser is closed, he will receive it as a normal, native browser push notification on which he can click and open the link that you have mentioned on the notification JSON body. Great! You have successfully implemented user-specific web push notifications using Engagespot REST API. Feel free to comment if you have any doubts. I'll be glad to help you. If you've already tried our free plan, have a look at our premium push notification pricing packages. We have a lot of features that you'll love.